 1.
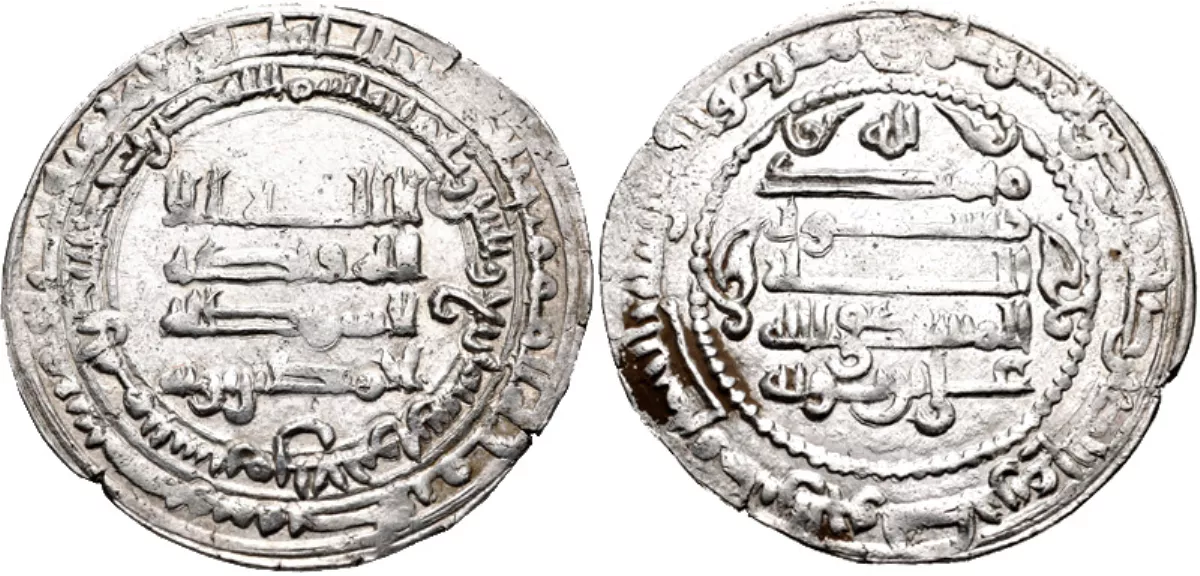
1. Ahmad ibn Buya, after 945 better known by his laqab of Mu'izz al-Dawla, was the first of the Buyid emirs of Iraq, ruling from 945 until his death.
1. Ahmad ibn Buya, after 945 better known by his laqab of Mu'izz al-Dawla, was the first of the Buyid emirs of Iraq, ruling from 945 until his death.
Mu'izz al-Dawla fought against the Batihah amirate several times, but was unable to decisively defeat it.
Mu'izz al-Dawla had problems with some of his Daylamite kinsmen, who would sometimes rebel against him, the most dangerous instance being the rebellion of Ruzbahan from 955 to 957.
Mu'izz al-Dawla took charge of the administration of the Caliphate by taking the position of amir al-umara'.
Mu'izz al-Dawla had brought many of his Daylamite soldiers to Iraq, whom he settled there.
Mu'izz al-Dawla brought many prominent Persian statesmen, including Abu'l-Fadl al-Abbas ibn Fasanjas from the Fasanjas family, who served as the financial minister of Basra.
News of this event was received negatively by the Hamdanid amir Nasir Mu'izz al-Dawla, who ruled over Mosul and the districts of the eastern Jazira.
Nasir Mu'izz al-Dawla had previously controlled Baghdad in 942 and he still entertained hopes of regaining the city.
Mu'izz al-Dawla's army had been bolstered by the arrival of numerous Turkish soldiers who had fled from Baghdad just before Mu'izz al-Dawla's entrance into the capital, and he was much more familiar with the territory between Mosul and Baghdad than his rival was.
Nasir Mu'izz al-Dawla responded to this act of aggression by leading his army, which included a number of Turks, to Samarra the following month.
Mu'izz al-Dawla similarly gathered his forces and departed from Baghdad with the caliph al-Muti' for Ukbara.
When Mu'izz al-Dawla learned that he had lost Baghdad, he gathered his Daylamite soldiers, who had been busy plundering Tikrit and Samarra, and headed back to the city.
When he arrived, he found that Nasir Mu'izz al-Dawla had crossed the Tigris and set up camp outside the Shammasiyyah quarter of eastern Baghdad; he therefore dug in on the western side of the city, and the two sides prepared for fighting.
Mu'izz al-Dawla constructed a fleet of zabzabs, and his troops used these to battle the Hamdanid forces patrolling the river.
Nasir Mu'izz al-Dawla's forces prevented civilians on the western side from crossing to the eastern, while a number of allied Arab tribes surrounded western Baghdad and cut off the flow of supplies.
Mu'izz al-Dawla eventually decided to make one final attempt to take the eastern side, and if the effort failed he would give the order to withdraw.
Mu'izz al-Dawla gave orders to his chief secretary Saymari to cross to the eastern bank with a number of handpicked Daylamites, while he himself would attempt to distract the Hamdanid forces with a ruse.
Mu'izz al-Dawla led a number of men north, instructing them to light torches and blast trumpets along the way.
Nasir Mu'izz al-Dawla, realizing that he was in danger of losing the city, ordered Ibn Shirzad to take command of the troops and push the Daylamites back across the river.
Nasir Mu'izz al-Dawla then realized that the fight was lost and joined the retreat; the Hamdanid forces withdrew from Baghdad and allowed the Buyids to take control of the city.
Mu'izz al-Dawla agreed to the terms, and the war between the two sides came to an end.
Mu'izz al-Dawla agreed to recognize the Hamdanid as ruler of the territory from Tikrit northwards, and to release him from the obligation of transmitting tax revenues from Mosul and the Diyar Bakr district.
In exchange, Nasir Mu'izz al-Dawla was made responsible for forwarding the tax proceeds of Ikhshidid Egypt and Syria on to Baghdad, and promised to regularly send supplies to the city which were to be exempt from any taxes; in addition, he agreed to recognize al-Muti' as the legitimate caliph.
The Turkish mercenaries in the Hamdanid army, who were vehemently opposed to Mu'izz al-Dawla's continued occupation of Baghdad, were not informed that Nasir al-Dawla was seeking peace with the Buyids.
Mu'izz al-Dawla now focused on the Baridis, who still controlled Basra and Wasit.
Mu'izz al-Dawla managed to defeat them and annex their lands in 947.
In exchange, Nasir Mu'izz al-Dawla agreed to recommence the payment of tribute for the Jazira and Syria, as well as to add the names of the three Buyid brothers after that of the Caliph in the Friday prayer.
Mu'izz al-Dawla, having assisted his brother, then sent Abu Ja'far al-Saymari to subdue the Batihah amirate.
Mu'izz al-Dawla managed to inflict a series of defeats upon the Batihah ruler 'Imran ibn Shahin, who fled and whose family was imprisoned.
Mu'izz al-Dawla accepted the change of rulers, and then sent al-Saymari to Shiraz to ensure that Fana-Khusrau, who was the son of Rukn al-Dawla and 'Imad al-Dawla's successor, would take power there.
Shortly afterwards, Mu'izz al-Dawla sent another expedition against the Batihah.
Mu'izz al-Dawla, after receiving numerous complaints from his officers about 'Imran, sent another army in 950 or 951, under the joint command of al-Muhallabi and Ruzbahan.
Mu'izz al-Dawla kept his forces in the rear and fled as soon as fighting between the two sides began.
Mu'izz al-Dawla then came to terms with 'Imran, acceding to his terms.
Mu'izz al-Dawla demanded that the items confiscated be returned, at which point 'Imran returned the money, but kept the goods.
Mu'izz al-Dawla sent Ruzbahan a third time to the swamp, but the latter revolted and 'Imran was spared a new attack.
In 957, Mu'izz al-Dawla fought a final battle against Ruzbahan.
Abu'l-Abbas Musafir, an officer of Mu'izz al-Dawla, who managed to discover the Daylamites' plan, urged Mu'izz al-Dawla to have Ruzbahan killed.
Mu'izz al-Dawla, initially demurred, but was convinced of the threat of the plot by a number of his other officers.
At nightfall, Mu'izz al-Dawla's guards drowned Ruzbahan in the Tigris river.
Mu'izz al-Dawla then began removing the Daylamites who had followed Ruzbahan from their offices, and arrested a number of them, while installing his Turkic ghulams to higher offices and giving them more land.
Mu'izz al-Dawla then began counter-attacking Nasir al-Dawla, who was not able to maintain his position, and abandoned Baghdad.
Peace was renewed in exchange for the resumption of tribute and an additional indemnity, but when Nasir Mu'izz al-Dawla refused to send the second year's payment, the Buyid ruler advanced north.
Only when he agreed to assume the burden of paying his brother's tribute for the entire Diyar Rabi'a did Mu'izz al-Dawla agree to peace.
Mu'izz al-Dawla refused Nasir al-Dawla's offer, and again invaded Hamdanid territory.
Rukn al-Dawla's struggles in northern Persia against various enemies caused Mu'izz al-Dawla to send military aid for several years.
This, combined with continually having to deal with the Hamdanids, prevented Mu'izz al-Dawla from expanding the borders of his state for several years.
Mu'izz al-Dawla had other sons named Habashi, Abu Ishaq Ibrahim, Abu Tahir, Marzuban, and a daughter Zubayda.
The Buyids had difficulty adjusting to Baghdad; Mu'izz al-Dawla almost left the city in favor of Ahvaz.
The struggle for power between Baghdad and Shiraz that first showed itself during Mu'izz al-Dawla's lifetime exploded into violence soon after his death.